Gluten Free Chocolate Graham Cracker Cookies
My daughter and I are currently on week number 3 of homeschool on the homestead! It has been quite an adventure, and we are loving every second. I do plan on sharing all of our learning activities here on the blog, I just haven’t gotten an extra second since we started. I have been going non-stop! Lyla is…
My daughter and I are currently on week number 3 of homeschool on the homestead! It has been quite an adventure, and we are loving every second. I do plan on sharing all of our learning activities here on the blog, I just haven’t gotten an extra second since we started. I have been going non-stop! Lyla is absorbing like a little sponge, and so eager to learn every day. She bounces right out of bed and asks “what am I learning?!”. Today, my answer was “bones”.
This week is all about what goes on inside our bodies. We started with the skeleton. I like to save some fun hands-on activities to do with her while my youngest daughter naps. I really enjoy having that special one on one time with her. Cooking happens to be one of her favorite things to do with mommy. This activity just made her day! I let her do all the pouring, mixing, kneading, rolling, and cutting. As you can see, she did a great job. I think I may have a little chef on my hands.
- 1¼ C gluten free baking flour plus extra for dusting (I use Bob's Red Mill 1 to 1 gluten free baking flour)
- 1¼ C powdered sugar
- ½ C cocoa powder
- 1 tsp baking powder
- ½ tsp salt
- ½ C unsalted butter, sliced
- 2 TB milk
- 2 TB honey
- Icing:
- 1 C milk
- 2 TB powdered sugar
- preheat oven to 325
- In a food processor, combine flour, sugar, cocoa powder, baking powder, salt, and butter.
- Mix until combined.
- Add milk and honey and pulse until a ball is formed.
- Dust your working surface and rolling pin with flour and divide dough in half.
- Roll one half of dough to about ¼ in thickness.
- Cut into desired shapes using a cookie cutter and carefully transfer to a silpat or parchment lined baking sheet.
- Poke a few holes in each cookie using a toothpick.
- Bake 12-15 minutes until edges darken slightly.
- Cool completely before icing. Repeat with remaining dough.
- For the icing:
- Whisk together milk and sugar and pour into a ziplock bag.
- Close the bag and twist so that all the icing is gathered in the corner.
- Snip off a tiny piece of the corner.
- Decorate your cookies as desired.
- Allow icing to harden before stacking.
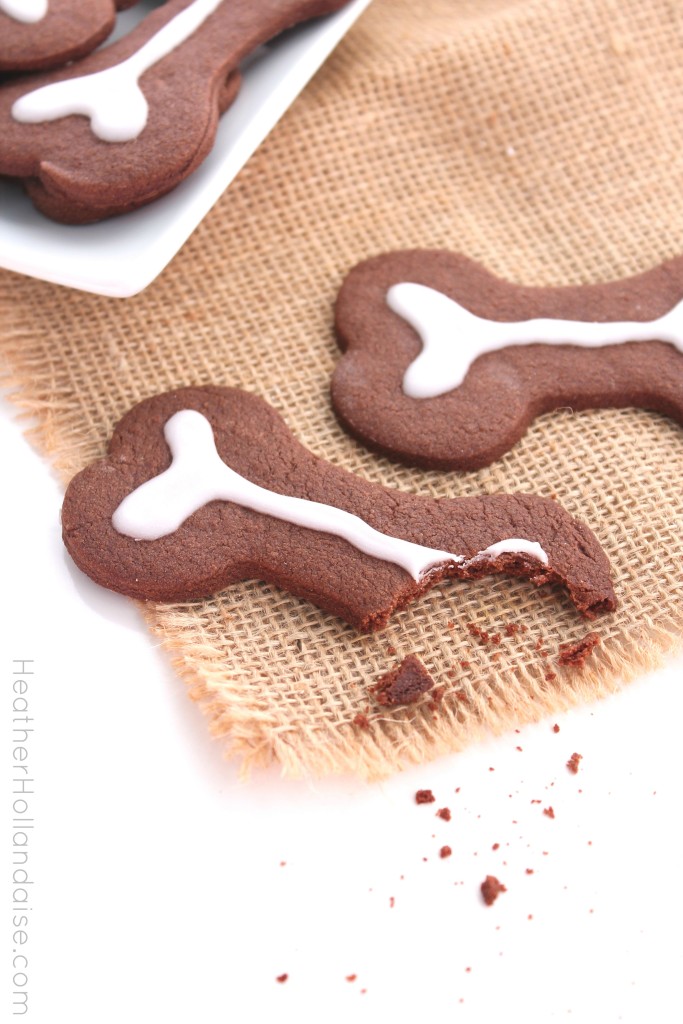



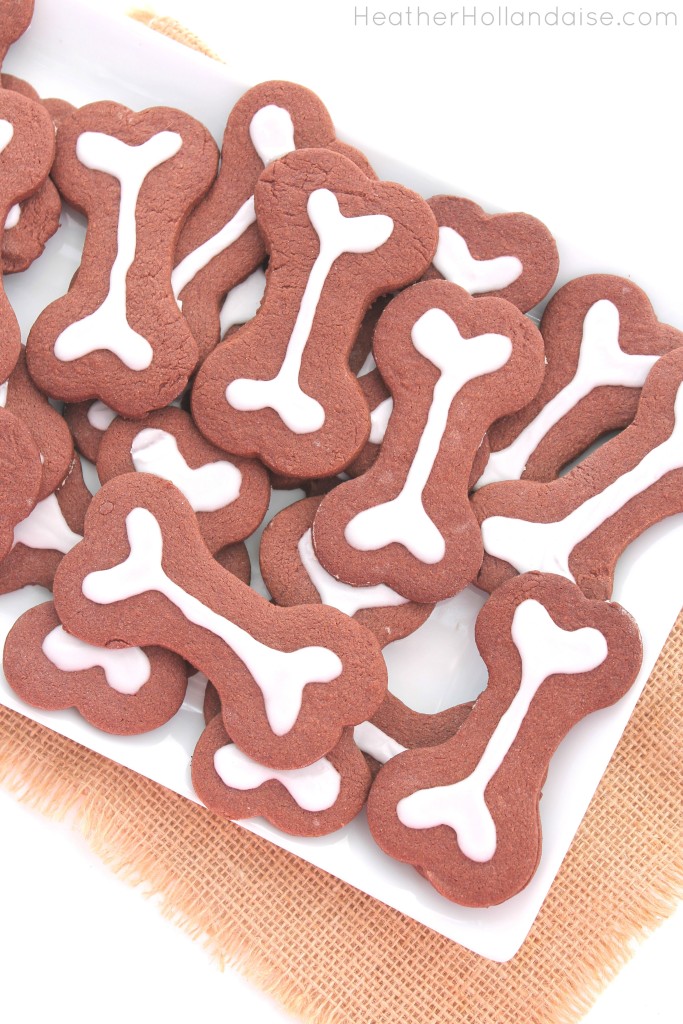

These are just so stinkin’ cute!! What a fun treat!
Thank you, Michelle! 🙂